Configuring A and B Teams for Track & Field
If you're going to be running an intrasquad meet, or simply want to divide teams into A-squads and B-squads for scoring purposes, you can take advantage of an AthleticNET feature that will do just that.
Configure the Meet
The first step to creating such a meet is to configure your divisions in your AthleticNET meet setup. Instead of creating divisions like you would for a normal meet (e.g., Varsity, Junior Varsity), you'll need to create divisions for each sub-team you'd like to create. For example, if you'd like to have an A-Team and a B-Team for your meet, create two divisions like this:
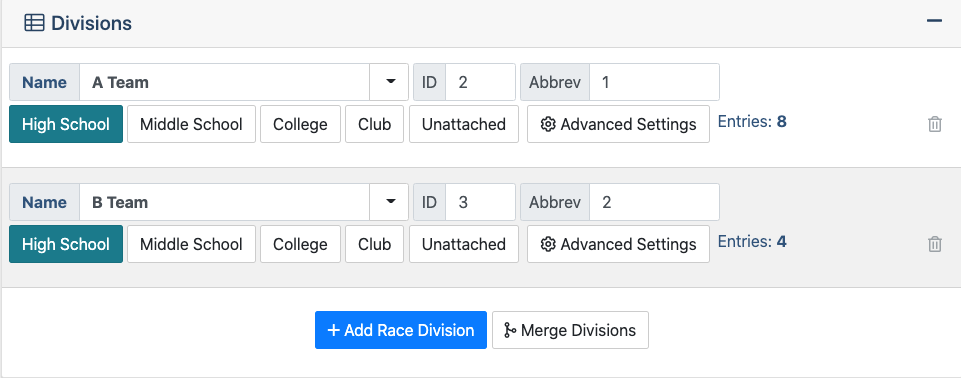
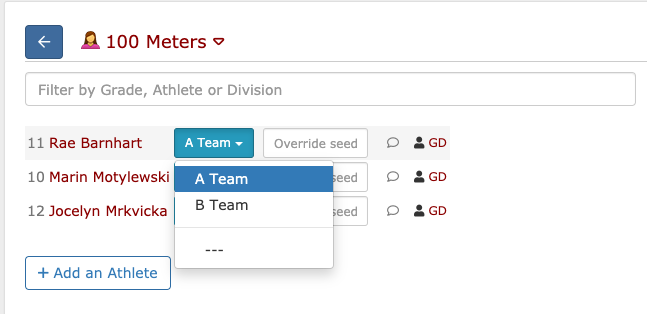
1 when we configured the divisions. We'll discuss the reason for this later in the article. For more information regarding how to configure divisions, see Creating a Track & Field Meet #4: Divisions.Now that you've configured your divisions, collect entries from your attending coaches in the usual format. When your attending teams register, they will be shown options to register their athletes in each of the divisions you've configured, like this:
Download Entries
Once all teams have submitted their entries, you'll need to download them from AthleticNET into your meet management software. On the Participants tab, choose Downloads.
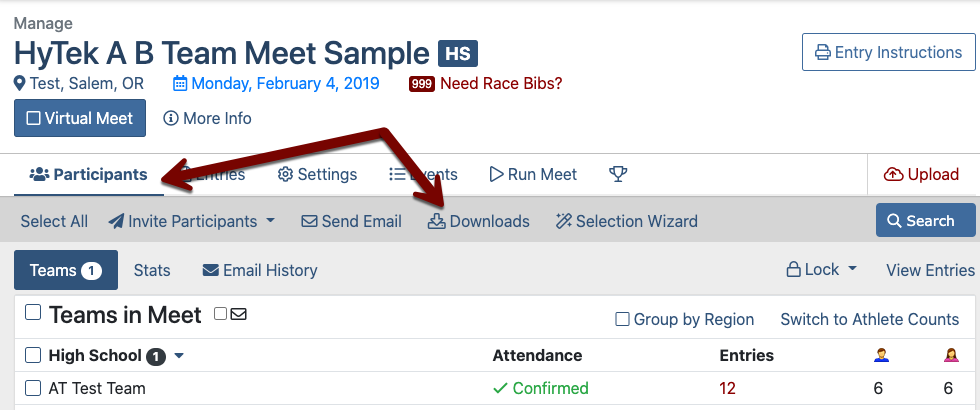
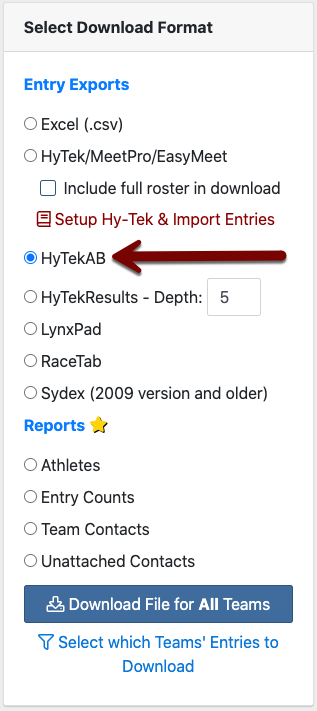
From there, select HyTek AB in the Select Download Format section, then select Download File for All Teams.
Once the file has downloaded, open it in a text editor such as Notepad so that we can make a few edits.
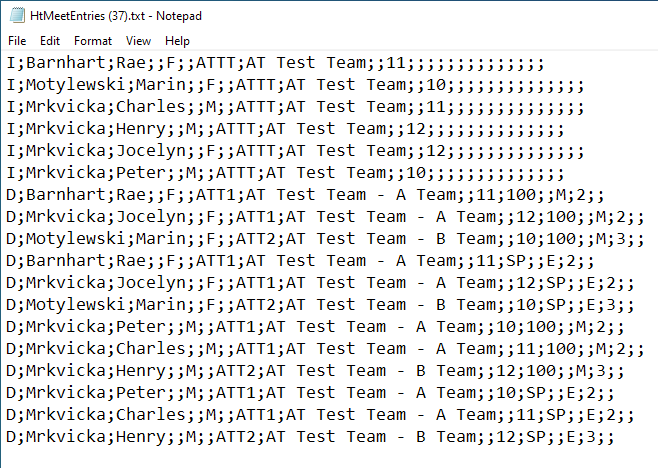
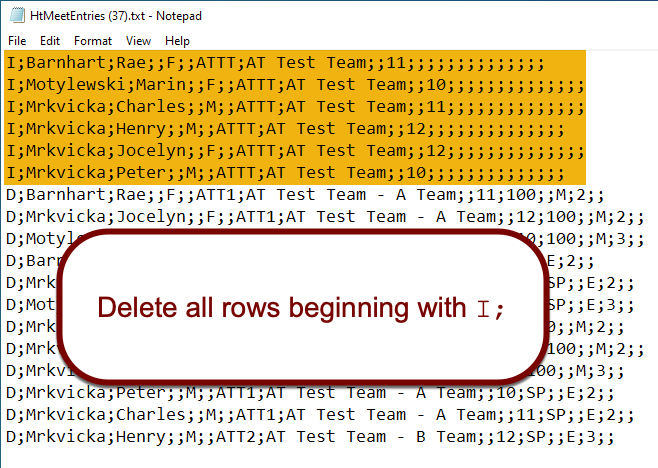
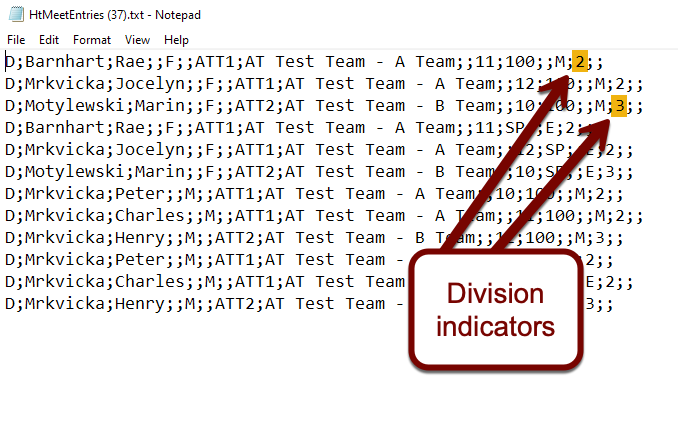
First off, if your document has them, highlight and delete every row that begins with I; . This will prevent duplicate athletes and teams from being created in your meet management software. All the rows beginning with I;; will be at the top of the file. Once you get to the rows beginning with D;, you don't have to keep looking.
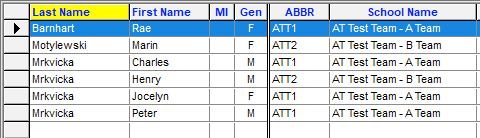
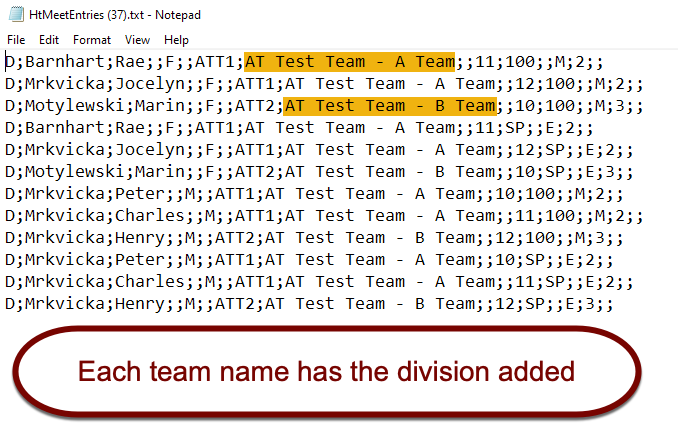
If you look at each D; row, you'll notice that each entry belongs to a team name that has had the name of your division added to the end of it. This will create multiple teams in your meet management software—one for each division.
1 to a division, AthleticNET will not append the division name to the team name.In other words, if we had configured our A-Team division with ID
1 above, all athletes entered in that division would simply appear as members of AT Test Team, without the A-Team designation.Next, we need to remove the division numbers from the entry file. This will ensure that the new teams that we've created can actually be scored against each other.
Also, it's a good idea before this next operation to save a backup copy of this text file in case something unfortunate happens.
To use the Find-and-Replace command in Notepad, select Replace... from the Edit menu, or use the CTRL+H shortcut key.
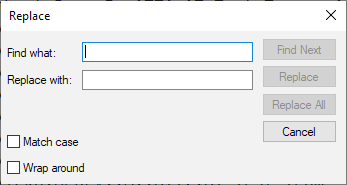
In the Find what: field, enter ;[x];; where [x] is the your first division ID number (without brackets).
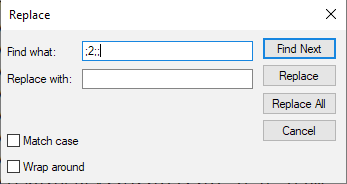
Leave the Replace with: field blank, and select Replace All. This will remove that particular string from each line.
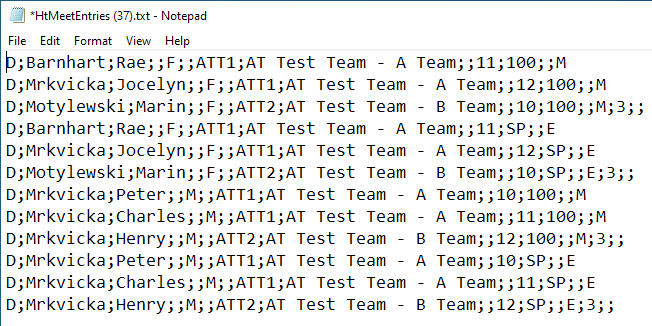
Repeat this process for each division ID in your meet (in our example, we used both 2 and 3).
1 at the end of all of your rows. If that is the case, you would be done after finding and replacing those and would not need to repeat the process for other numbers.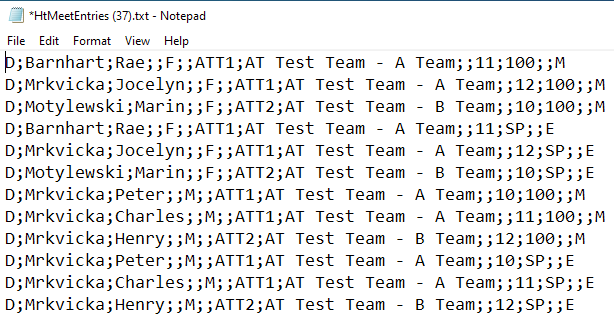
Once you've done all the edits described here, save the file and close it. Import it with your meet management software. You'll see that separate teams have been created for your A-team, B-team, etc, and they can now be scored against each other.