Uploading Track & Field Results #1: Overview
The power of AthleticNET is that any logged in user can upload results for his/her team, but also for all teams for which results are available. In fact, most common electronic meet result formats are supported for automatic import into our system. While the import of the results is automatic, we need each person who uploads to take a few steps to help us with the integrity of the data. Once you take those steps, results are typically live instantly.
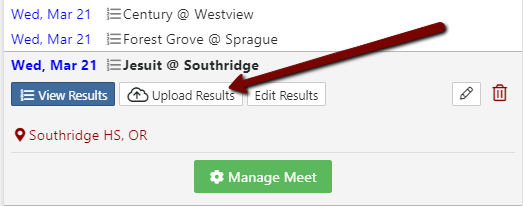
If you have meet results you would like to upload for an entire meet (example: Hy-Tek results, RaceTab Results, etc.), then find an upload link to get started. You can find one at the top left of most meet pages or by accessing the meet from your team's calendar.
From your team's homepage, click on the name of a meet in your calendar, then click on Upload Results.
Export the complete meet results from your meet management software in the semi-colon delimited results format or use AthleticNET's custom format to upload results not produced by meet management software. For more information about AthleticNET's custom format, see AthleticNET Custom Format for Track and Field.
On the Upload Results page, you will start on the Upload tab. Click the Upload a file button and upload your complete results file in the format specified.
In Hy-Tek, click File > Export > Results for Team Manager and then click the OK button. In MeetPro, click File > Export > Results and choose the Semi-Colon option and click OK.
Once the file has uploaded, check to make sure that divisions are matched up properly. They will automatically match up if division IDs were not adjusted on Athletic.net and the same ones were used in your meet management software.
Continue on to the Teams Tab where you will review and make sure that each of the teams in the results file is correctly matched up to the team listed on Athletic.net.
Next, on the Athletes Tab, you should see that all athletes from the results are already matched to team rosters on AthleticNET. This is due to using AthleticNET for meet registration for all athletes. If this meet did not use AthleticNET for meet registration, see the Athletes Tab article for more details.
Continue to the Events Tab where you will adjust any heights/weights that need to be posted differently for certain divisions (for example, if JV throws a different shot put weight).
On the Timing Method Tab, click the Hand Timing or FAT button to designate the primary timing method. If specific events were timed differently, you have options below to adjust.
Publish Tab – Click the Publish Results button and then click the Mark Official button.
When you mark the results as Official, AthleticNET and the coaches in your meet are notified that the results are posted on the meet site and are official. To learn more, see Meet Status.