AthleticSB - Field Scoreboard
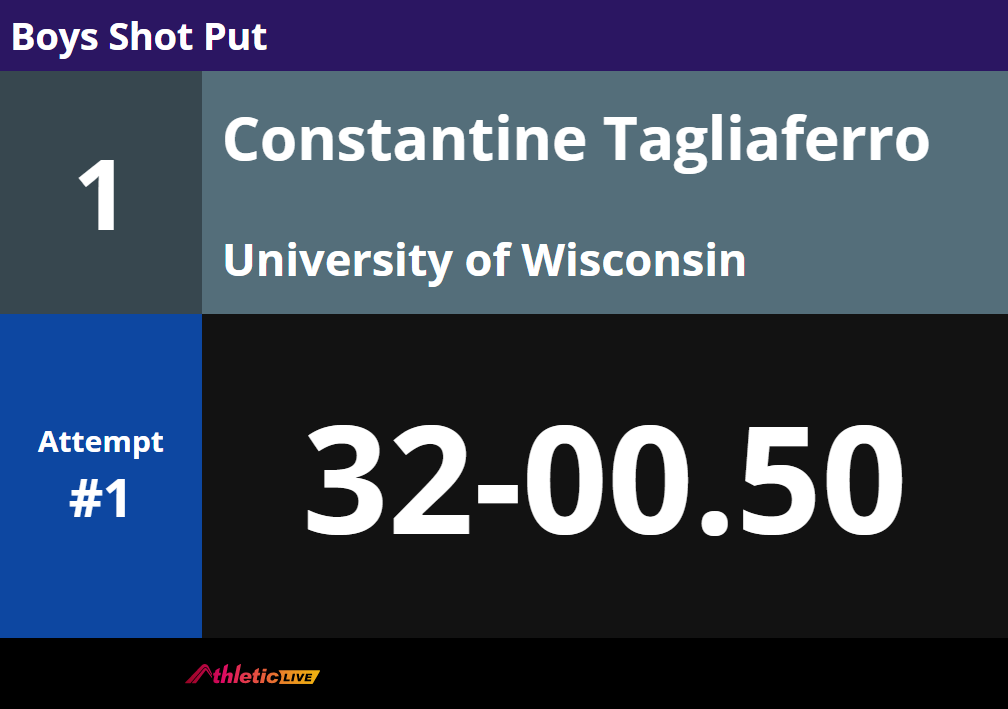
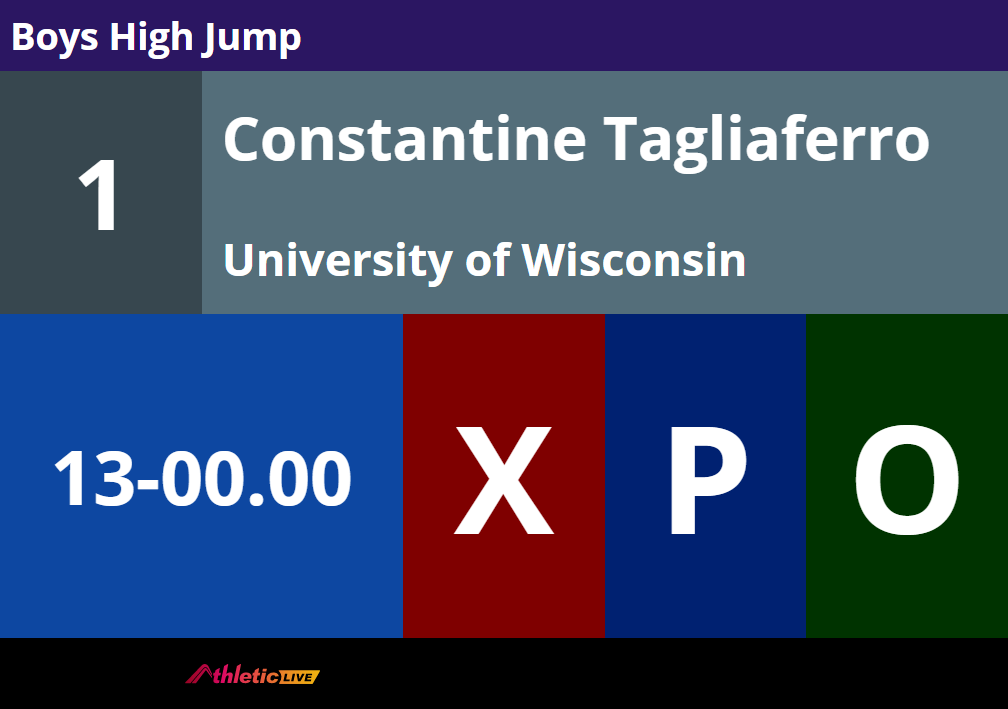
Display the current athlete and last mark at any field event using AthleticFIELD or FieldLynx. This board works for both horizontal and vertical events.


Creating a new board
- From the homepage, click "Create."
- If you want to see your changes immediately, click "Test" to open a board with test data. You can immediately see how your changes affect the board as you change sizes, colors, and options.
Display Settings
All scoreboards use the same display settings. Click here to read Display Setting documentation.
Connection Settings
Connection Type
Field boards can use local data or online data. Local data comes from your internal local network, while online data comes directly from AthleticLIVE. Select the connection type that's right for you. Local boards only work if you are doing Local Sync. Online Boards work for Online Sync or Local Sync.
Online Boards
With an online connection, you can select the live event on the AthleticSB homepage, and results will stream over the internet. As you make marks, the scoreboard will update.
NOTE: When using FieldLynx, you must implement Part 1 in order for this board to work.
Selecting a Live Event
After you create your board, follow these steps.
- At the top of the homepage, select your meet.
- Locate your board on the AthleticSB Homepage
- Click the "Set Data" button
- A list of events will appear. Select an event
- If your event has multiple pits, a list of athlete names will appear. Select the name that corresponds to the pit you want to show.
You can update these events throughout the meet without restarting your board.
Local Boards (FieldLynx only)
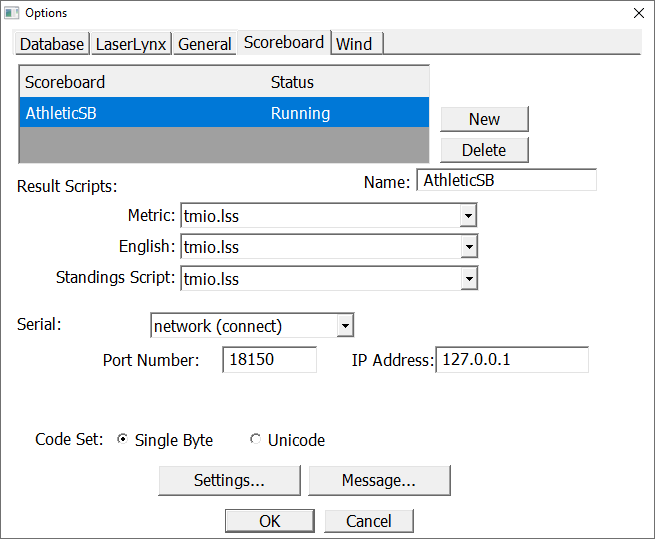
With a local connection, send data from FieldLynx to AthleticSB.
Identify one open port on the computer running AthleticSB. Usually, any port between 10000 and 60000 will be available. We recommend this one:
- Results: 18150
Click here to download the tmio.lss script. You will need this for AthleticFIELD or FieldLynx.
Using FieldLynx
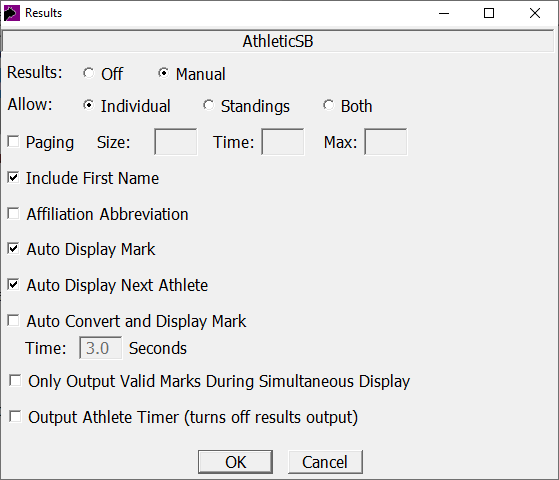
Below is a screenshot of a FieldLynx Scoreboard with ideal settings.


Notes
- Place tmio.lss into the "C:\Program Files (x86)\Lynx\FieldLynx Windows" folder.
- Make sure paging is unchecked.
- Make sure the IP address of the scoreboard is the local IP address of the computer running AthleticSB.
Layout Options
Show Conversion
Check this box to show the converted mark on horizontal and field boards
Show Wind AND/OR Combined Points
Check this box to show wind and/or combined points on horizontal boards
Styles
You can modify the background colors for all parts of the scoreboard. Text will be white or black based on which color is more readable on your chosen background color.
Changing Colors
Click in either form field to open a color picker. Move the color picker around until you find the right color. Or, enter a hex code yourself.

Logos
Gather team logos on your scoreboard machine and use them on the scoreboard. Logos names must match the team names sent by FinishLynx. The image can be any web-safe image type (png, jpg, gif).
For example, if the team name is "Madison HS," Madison HS.png, Madison HS.jpg, or Madison HS.gif will work.
To enable logos, check Show Logos and select the directory that contains your logos.

