Meet Records
AthleticNET provides Administrators, Coaches, Event Directors and Timers the opportunity to create Meet Records by division or overall. This provides the opportunity for Athetes, Parents and Fans to engage more with your meet.
Every time results are marked as official, your Meet Records are updated automatically.
CREATE MEET RECORDS
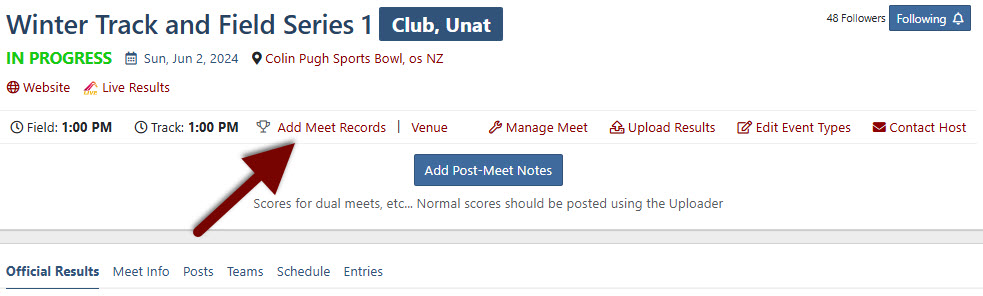
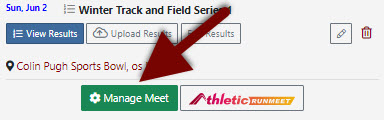
To create Meet Records, go to your event page and under the main heading for the event you will see Add Meet Records.
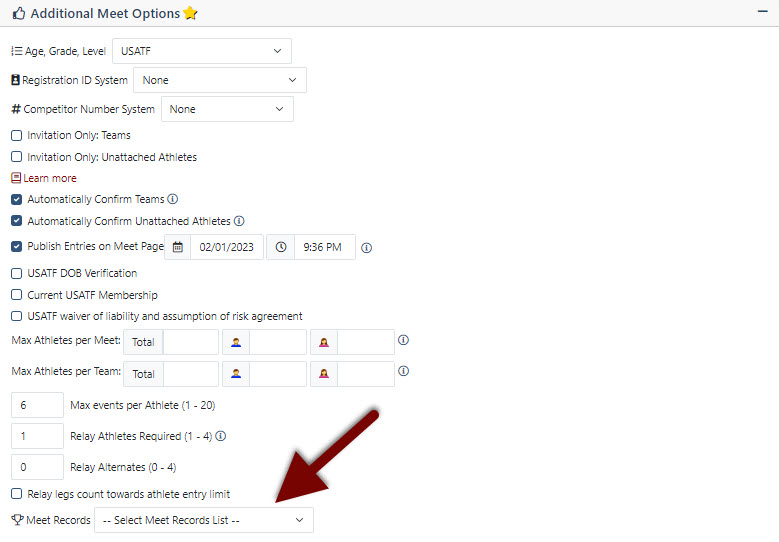
Once you click Add Meet Records you will be taken to the Additional Meet Options in the Manage Meet Settings. At the bottom you will find the Meet Records toggle.


Create New Meet Record
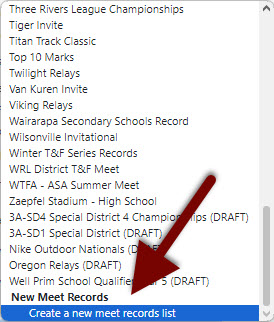
To create a new Meet Record click the drop down toggle and scroll to the bottom. You will see Create a New Meet Records List.
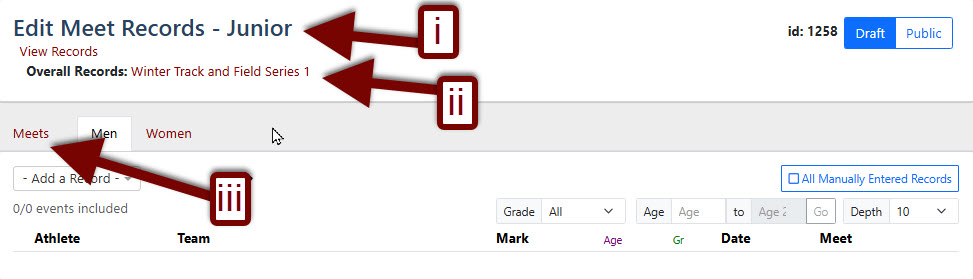
This will take you to the Edit Meet Records Screen.
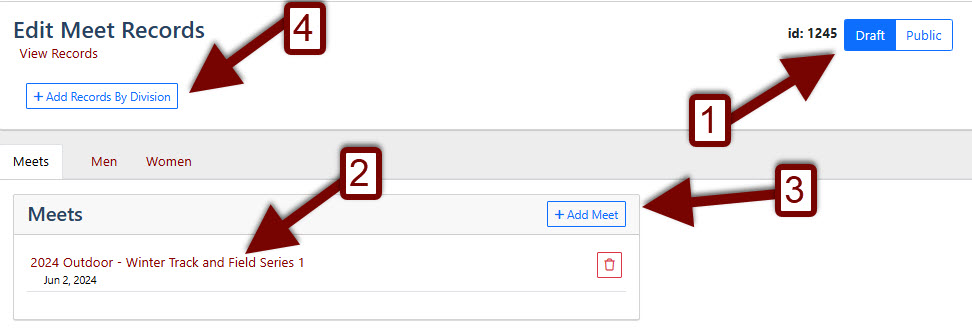
- Before you begin, you may want to change the display of the record from Public to Draft. This will allow you to create your Meet Records without mistakes being displayed. You can leave this on Public, so you do not forget to make your Meet Records Public (i.e. this is permanently turned on to start with).
Then follow these steps:
- Make sure your event is showing.
- Add Meet (This will allow you to add historical and future events as long as they exist in AthleticNET). Click +Add Meet and you will see the following pop up box.

- Locate the Meet you want to add by going to that Meet in your web browser. Locate the Meet ID located in the URL.

- Copy and paste the Meet ID into the Link Meet Box and press OK. Follow this process until you have all your historical or future meets added.
- Locate the Meet you want to add by going to that Meet in your web browser. Locate the Meet ID located in the URL.
Records By Division
- Add Records by Division (If you have Divisions in your Meet, you can display these as Records as well). Click +Add Records By Division and you will see the following pop up box.
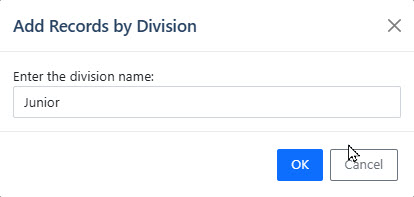
- Type in the Name of the Division and press OK. You will be taken to the Edit Meet Records for the Division you have just created.
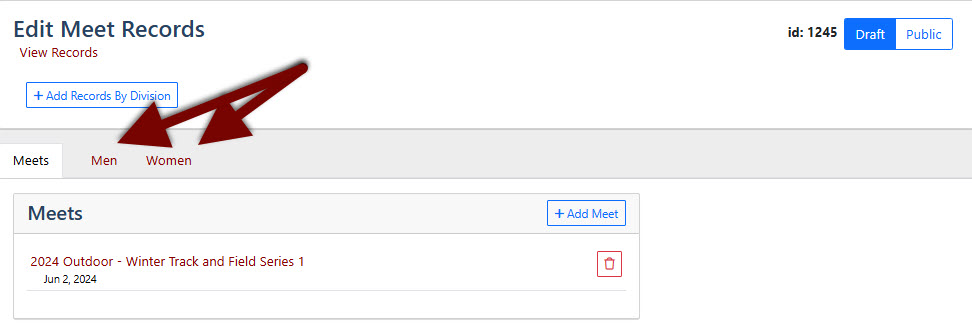
- Ensure the Division Name is correct that you want to check / edit.
- To get back to the Overall Meet Records, click the Event Name.
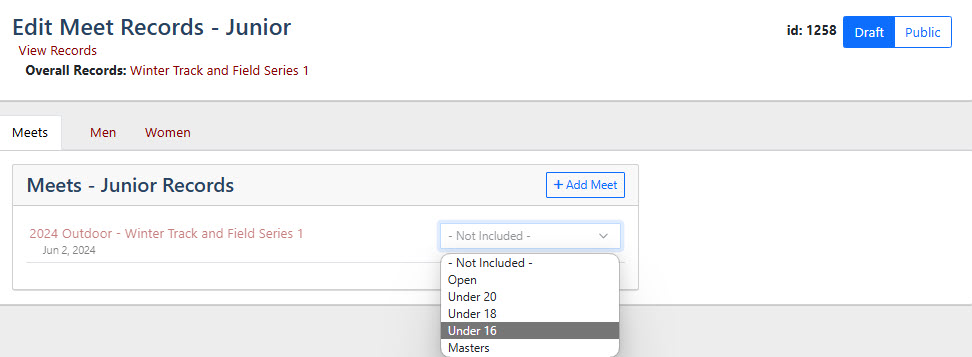
- To edit your Division Records, click Meets. This will take you to the screen to match the Division from the Meet to the Division Name you want records to display for.
- You can view your Division Records by clicking on Men or Women.
- To add your historical Division Records, please check the information that is further down this page.
- If you are happy with your Division Records and would like them to display, Click Public.
- Once you have made your Division Records Public, you can click (II) Event Name and you will return to the overall Meet Records.
- Type in the Name of the Division and press OK. You will be taken to the Edit Meet Records for the Division you have just created.
- Once you have finished setting up your Meet Records, change the display from Draft back to Public
Use Existing Meet Record
If you have created a Meet Record previously and just want to ensure the Meet Records show on your event page. Either go to the Meet page and click on Add Meet Records or click on Manage Meet Settings.
Then click on Settings and scroll to the Tab Additional Meet Options
Choose the Meet you would like to display from the drop down toggle. If you want to edit your Historical Meet Records, read further down the page.
EDIT MEET RECORDS
Add Historical Meet / Division Record
When you are creating your Meet Records, and click on either Men or Women, you have the option to add Historical Meet / Division Records.
If your records section doesn't show the correct records for a particular event, it may be that the meet where the record was set was never uploaded to AthleticNET. In order to ensure the correct record shows on your Meet Records, at the bottom of each event you can add any historical result you want.
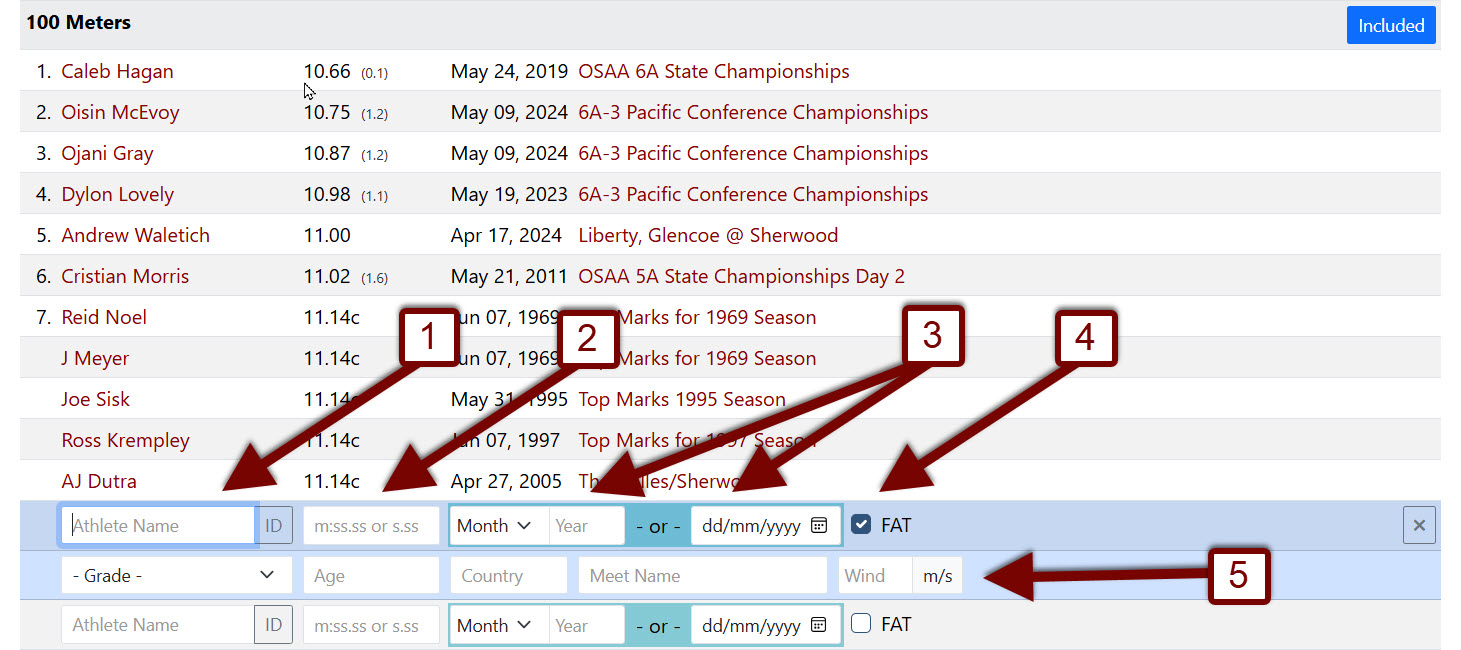
Click into the Athlete Name box and that will drop down a further row of additional information that can be added. You then need to type in:
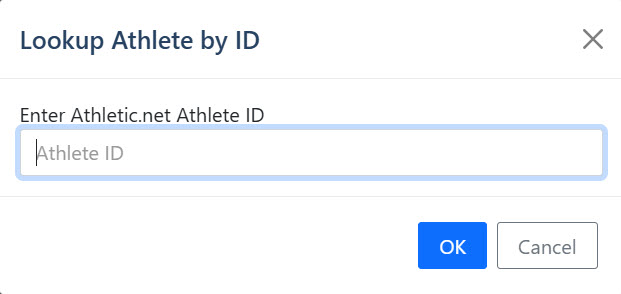
- The Athlete Name (You can search for the Athlete ID if the athlete already exists in AthleticNET and add the athlete this way so the record links back to their AthleticNET Profile).

- The Time or Mark achieved (For field events, you can add Metric or English measurements and the system will convert them).
- The Month and Year or the actual Date (you have two options here).
- Mark if the result was FAT or Hand timed for Track events.
- Any additional information to help add value to the historical record.
Once completed you press the Green save button that will appear on the right next to the Black X
Add an Event
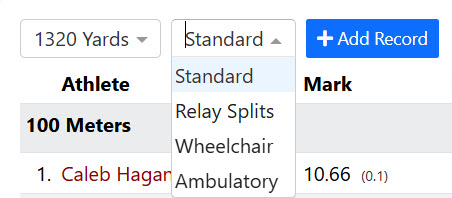
If no record shows for an event and you want to add the event to your team's records you can do this by clicking the Add a Record dropdown box at the top of the page.

You will then be prompted for further information to confirm the event before it is added.
Once completed click the blue +Add Record button. Your screen will automatically scroll to the bottom of the page where you can enter as much or as little information as you want for the record you have just created following steps 1 - 5 above.

Don't forget to press the Green save button on the right of the screen and decide if the event is Included or Excluded from your team's default records list.