How to Register Managed Athletes for a Virtual Meet
This article explains how to add a managed athlete to your account and then register that athlete for a virtual meet. A managed athlete is an athlete whose registrations are controlled by another Athletic.net account. The managed athlete function is primarily geared towards parents whose children are too young to have their own Athletic.net account (you must be 13 years old to have your own account). However, a parent may list their child as a managed athlete regardless of their age.
For virtual meets, this allows the manager (parent) to submit results on behalf of their managed athlete.
Download and log in to AthleticAPP
In order to register a managed athlete for a virtual meet, a manager should download AthleticAPP and install it on their device. For more information, see AthleticAPP Overview. Once you've downloaded the app, sign in with your existing Athletic.net (choose Existing User and then Sign in with Email) account or create one using one of the options provided.
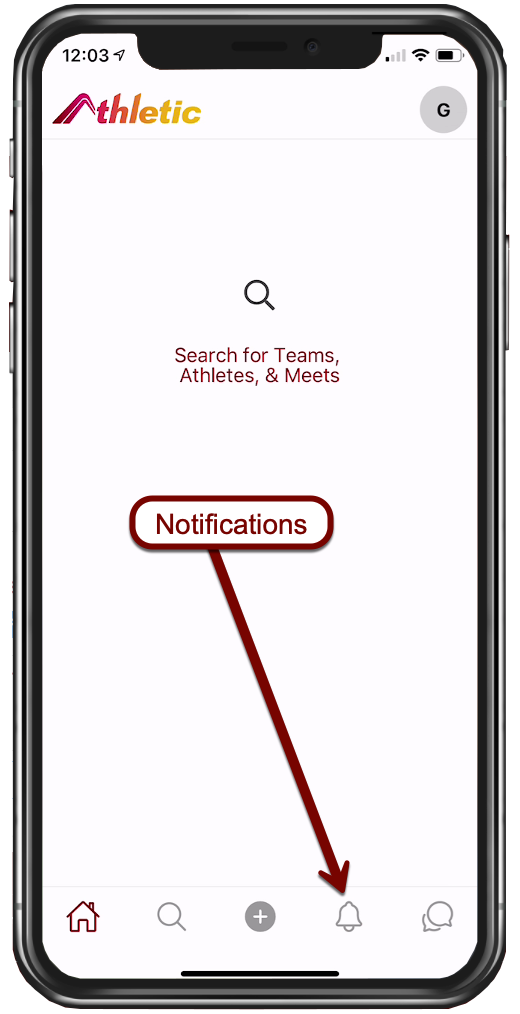
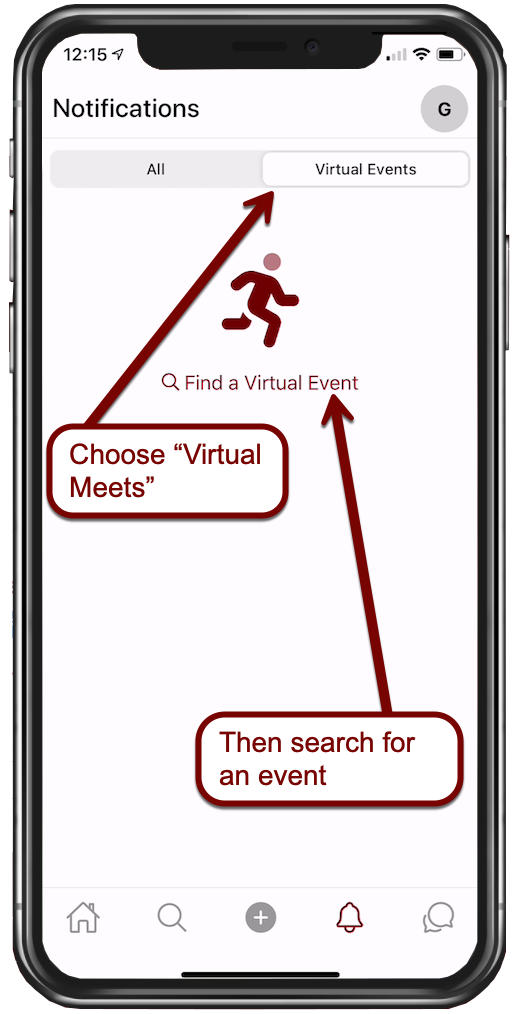
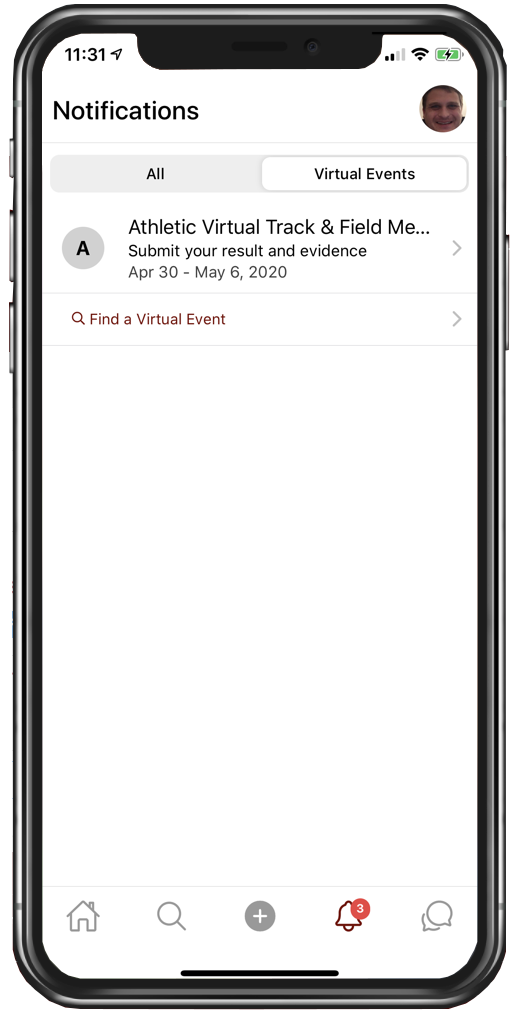
Next, you'll choose the meet you're registering your managed athlete for. Once on the Notifications tab, choose Virtual Events from the top of the screen, and then choose Find a Virtual Event.
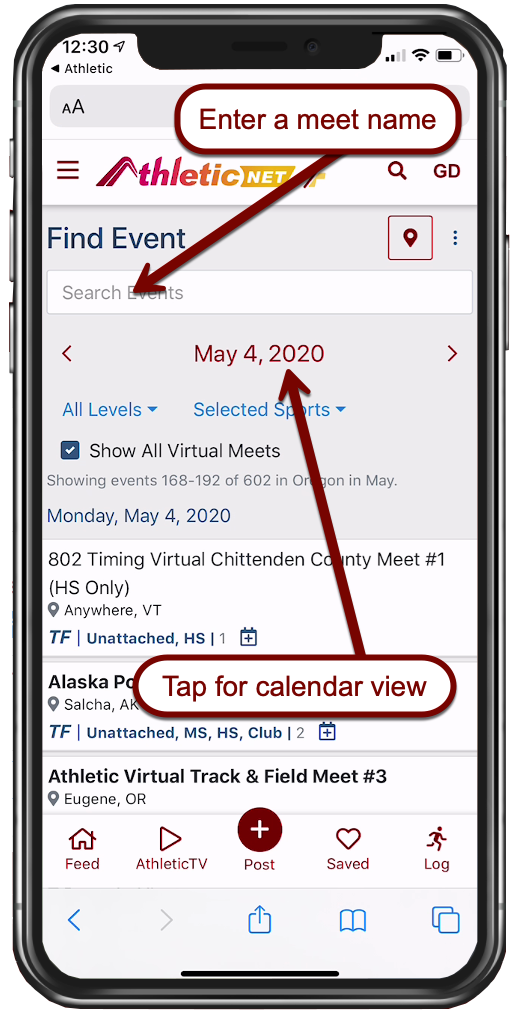
Tapping Find a Virtual Event will take you to your device's web browser and the Athletic.net website. If you aren't already logged in to the website, you'll need to log in again using the sign-in icon () at the top right of the screen. Once you're signed in, search for the virtual meet you want to register your managed athlete in. You can enter a meet name in the Search Events box, or choose to view meets taking place on a particular date by tapping the date to bring up a calendar view.
Once you find the meet you're looking for, tap the meet name to expand the listing.
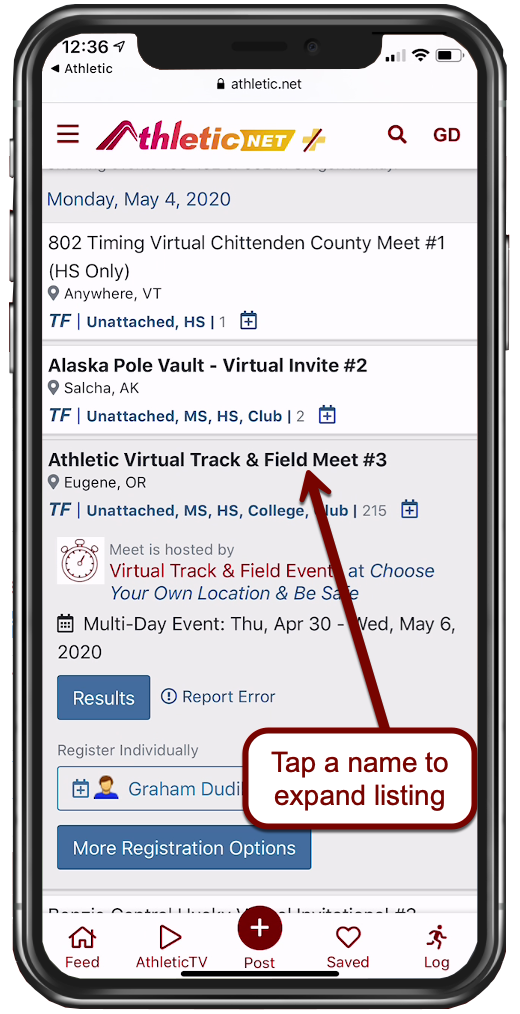
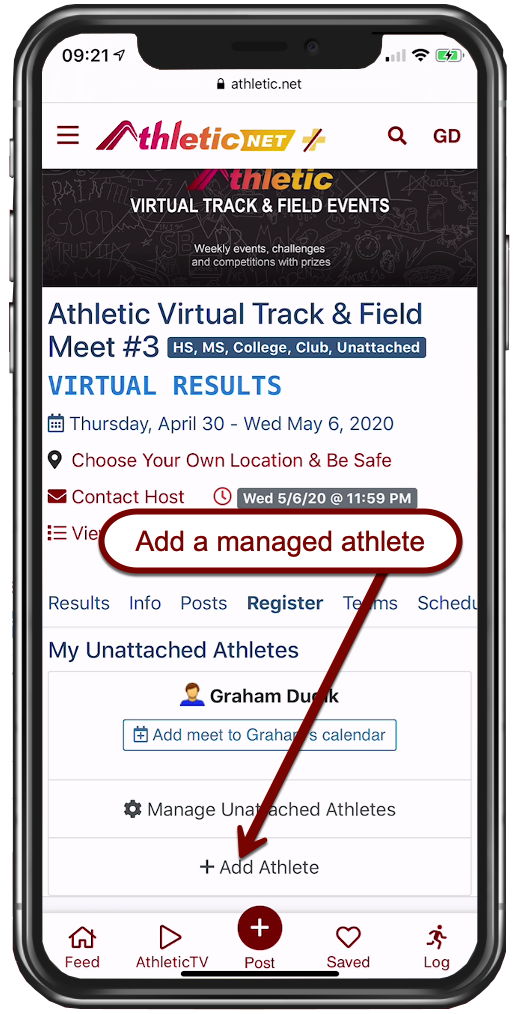
At the bottom of the meet listing, under Register Individually, you'll see one or more names, as well as More Registration Options. The first time you register a managed athlete, you'll only see your own name. Choosing More Registration Options will allow you to add a managed athlete and register them for this meet. After you've registered the managed athlete for one meet, the athlete will appear next to your own name as a registration option. Once you add a managed athlete to your account using the procedure in the next section, you'll be able to register them quickly and easily for future meets. See Register the athlete for a virtual meet below
Add a new managed athlete
To add a managed athlete, choose More Registration Options. This will take you to the meet registration page. On the meet registration page, choose Add Athlete.
From the box that appears, select either USATF or Not USATF depending on whether your managed athlete is a USATF athlete.
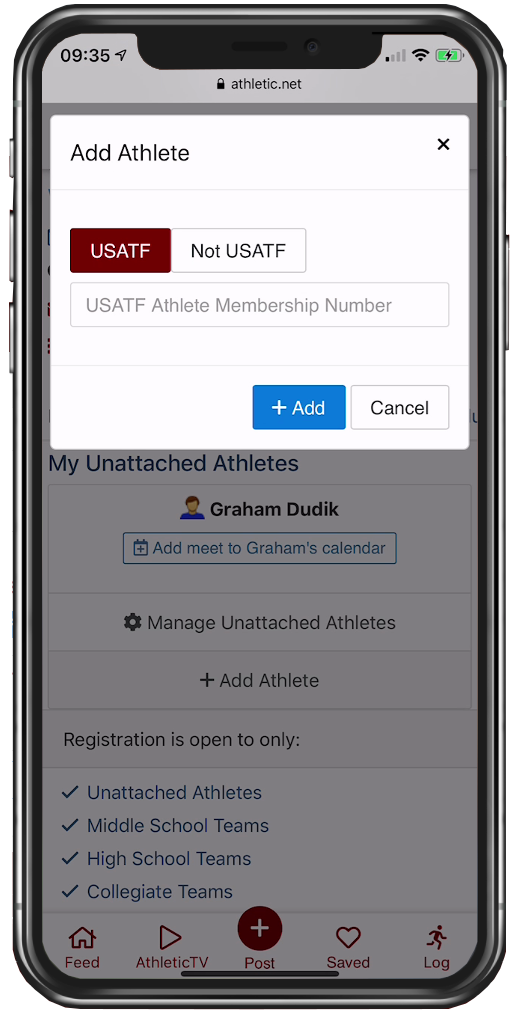
If your athlete is a USATF athlete, enter their USATF number. This will automatically pull in all of the athlete's details from USATF and allows you to complete the process in one easy step. Once you've entered their USATF number, click Add.
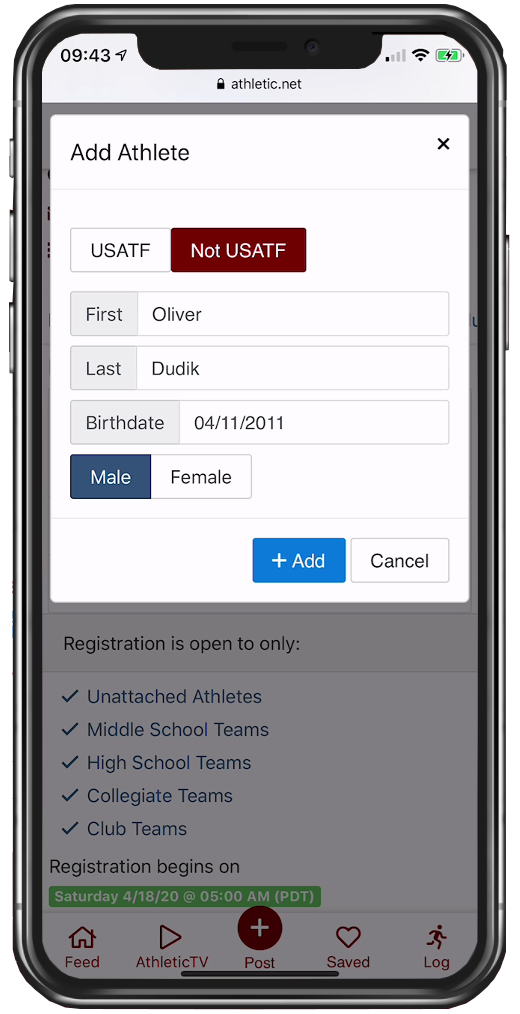
If your athlete isn't a USATF athlete, choose Not USATF, and enter the athlete's details, including first name, last name, date of birth, and gender, then click Add.
Tap OK on the confirmation screen. The registration page will be reloaded and will include your new managed athlete.
Register the athlete for a virtual meet
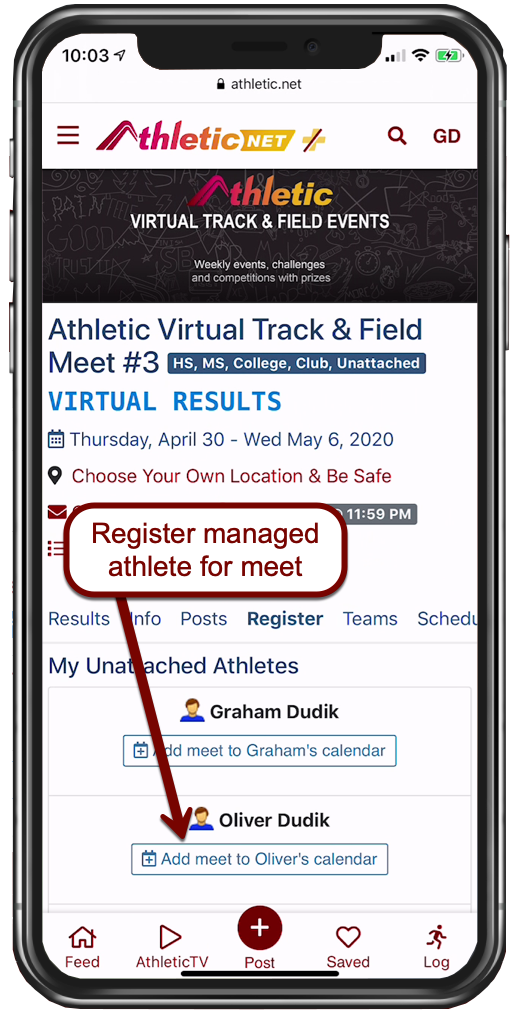
Once you've gotten your managed athlete added to your account, choose Add meet to [managed athlete]'s calendar.
Depending on the meet, you may be asked to choose the athlete's grade or age. Make the appropriate selection and then choose Save.

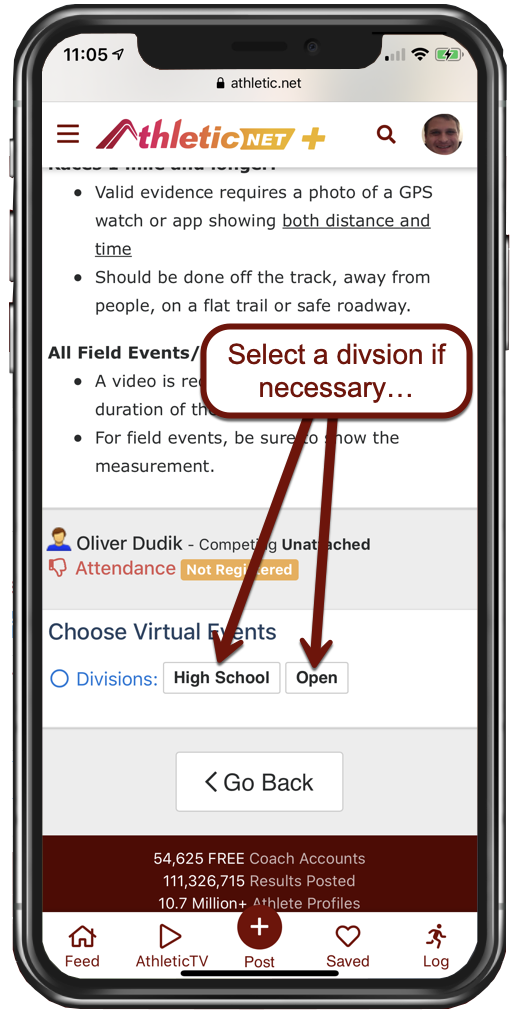
Next, you'll be taken to the event selection screen. This is where you'll choose what events your managed athlete will be competing in. At the top of the screen there may be some registration instructions or rule information from the meet host. Below that, depending on the meet, you may be given a choice of divisions, or you may be given a choice of events directly.
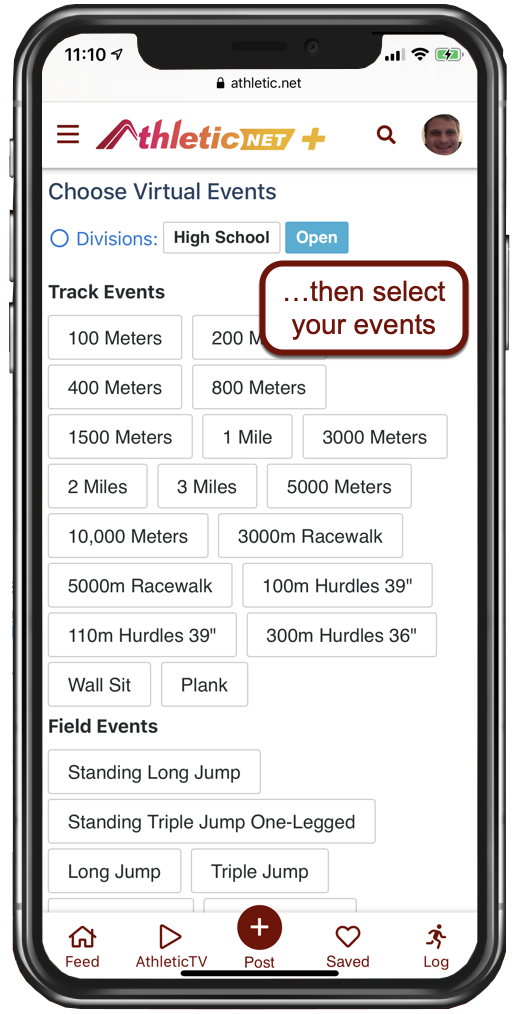
Tap on an event to register for it. The athlete is registered for the event once the event is highlighted. To de-select an event, tap on it again.
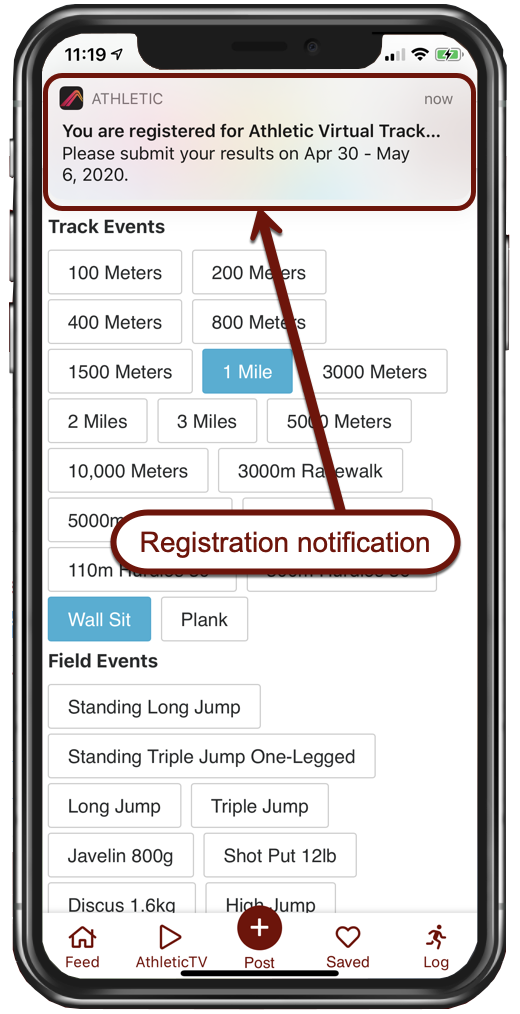
As you select your athlete's events, you'll receive notifications from AthleticAPP to let you know that you need to submit results for the meet. Tap on the notification or return to AthleticAPP to submit results.
Submit Results
From within AthleticAPP, return to the Virtual Events tab on the Notifications screen. You'll see the meet that you've registered your athlete for listed, along with the submission window for that particular meet.
Tap on the meet to see all the events that your athlete is registered for, as well as some other options pertaining to the virtual meet.
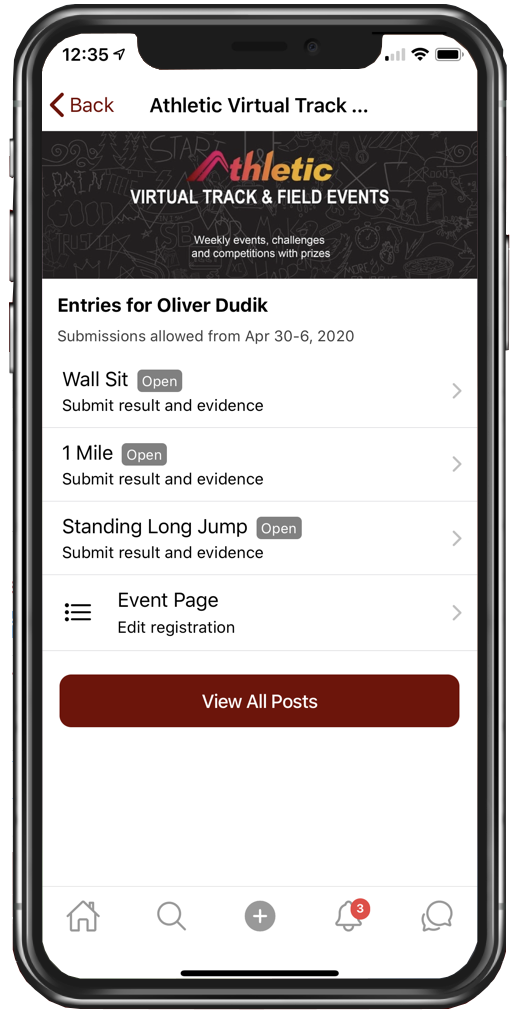
To submit a result for an event, tap on the event. Other options on this page include a link to the event page, which will allow you to edit which events were registered for.
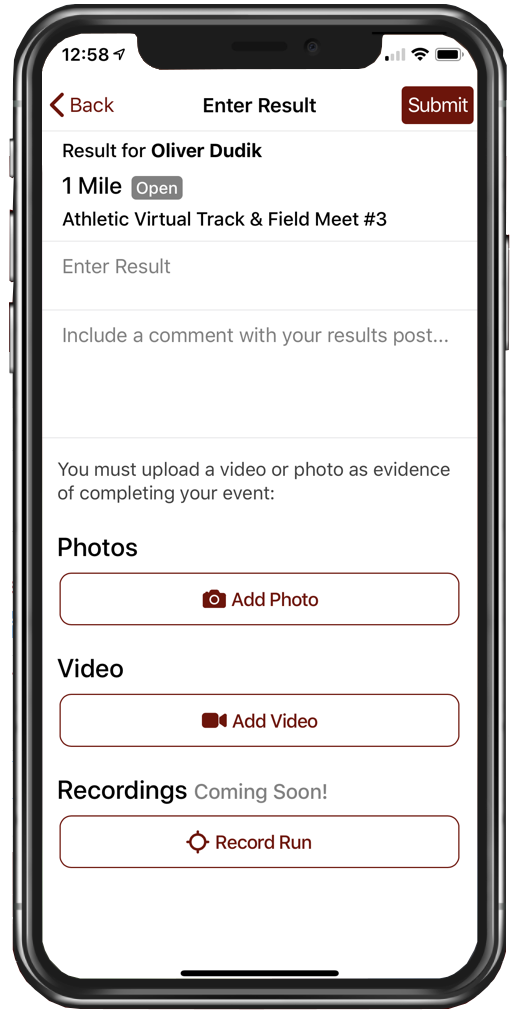
Tapping on the event will bring up the results submission screen, which allows you to enter the result, a comment regarding the result, and submit the evidence of the mark.
See the following video for details on what constitutes acceptable evidence of a mark for virtual events (video will begin at appropriate point):
In brief, the requirements for evidence are as follows:
- For field events and runs under 1 mile, submit a video of the attempt. It's good practice to have a running stopwatch visible on the screen while recording. Make sure you capture the entire attempt.
- For runs over 1 mile, use the Record Run feature in AthleticAPP, or use another GPS enabled run-recording device and submit a screenshot of the result, showing time and distance.
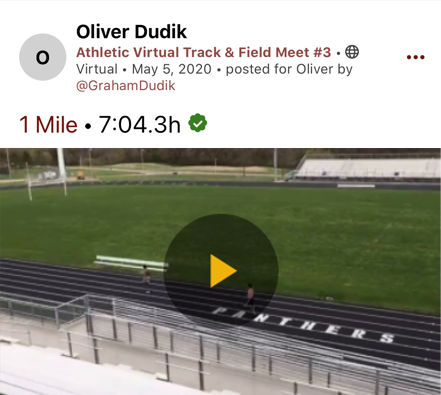
Each result you submit will appear as a post on the meet's results feed. Posts made for managed athletes by their managers will appear as shown, with the indication that the post was made for the athlete by their manager.
Register a managed athlete as an attached athlete
By default, the instructions in this article will allow you to register your managed athlete as an unattached athlete (i.e., not representing a team) for virtual meets. If you'd like to ensure that your managed athlete represents their team in a virtual meet, you'll need to complete the following steps:
- Enter your team's code in AthleticAPP and choose Parent as your role. Contact a team coach for the code. Connecting to your team with the app has multiple benefits besides allowing you to submit results for your managed athlete. See Following and Connecting with Teams and Athletes for further info.
- Add your managed athlete as described above under Add a new managed athlete. Ensure that the spelling of the name is exactly as it is on your team's roster. Your team's roster will be visible on the team's homepage. Search for your team's name using the search tool at the top of the page and then look for the Athletes section on the team's homepage to confirm the spelling if necessary.
- Attempt to register the athlete for a virtual meet. If you see a drop-down menu allowing you to choose the athlete's team, you're good to go! It will look like this:

If you still don't see the option to select a team, you might need to do one of the following things:
- Request that your team's coach enter the athlete's date of birth into the team's roster. One of the matching criteria in the Athletic.net athlete database is date of birth, but many teams do not have date of birth information entered. See Setting an Athlete's Date of Birth for coach's instructions to set date of birth for athletes.
- If all else fails, contact Athletic.net support using the at the top right of the page or the Get Help link in the menu at the top left of your screen. When contacting support, tell us:
- That you're trying to manage an athlete on a team's roster
- The name of the athlete you're trying to manage
- What team the athlete belongs to
Once Athletic.net support responds, you'll be able to register your managed athlete as attached.