Upload & Manage Meet Files
If you need to post a file relating to your meet, such as heat sheets, a schedule, or other useful information, you can do that from within the Manage Meet section. Files uploaded in this section will also be available to attach to emails created in the Participants tab. For more information regarding emails created by AthleticNET, see Meet Communications.
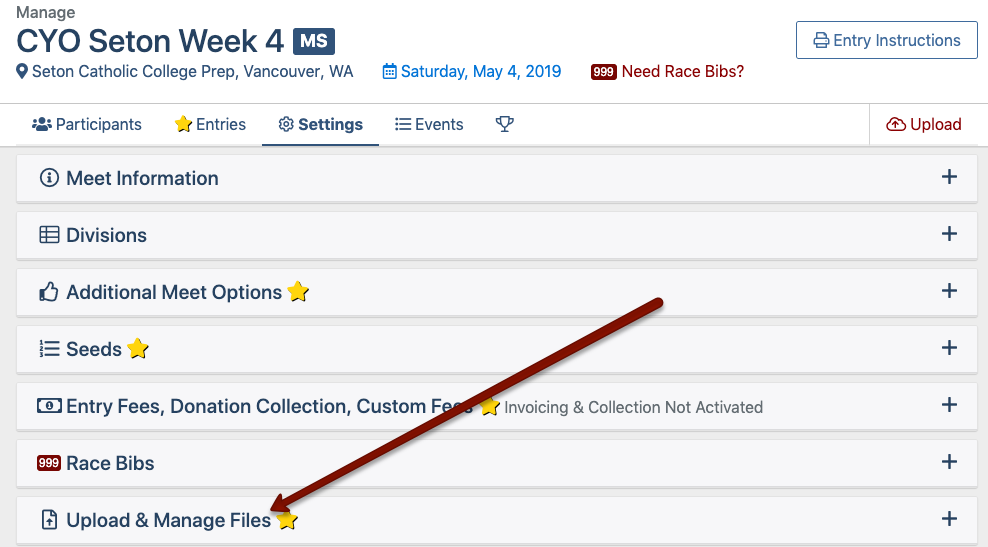
To access this area, select Manage Meet from the appropriate meet entry on your team's calendar, then click Settings at the top of the page.

Next, scroll down to Upload & Manage Files, and click to expand the section, then click on Upload New File.


This will open a Browse window on your computer. Navigate to where you have the file saved and select the appropriate file.
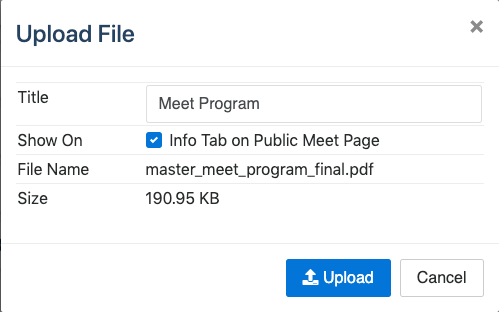
Once you select a file, you'll be presented with a few options to select. The Title field is what the file will be listed as in download links. Checking the box for Info Tab on Public Meet Page will make the file available for download on the public meet page. If you uncheck the box, visitors to your meet's page will not be able to access the file, but it will still be available as an attachment for participant emails. Once finished with these options, click Upload.

All files that have been uploaded will be displayed under the Upload & Manage Files header. Icons to the right of the file listing will allow you to download the file (), edit the file settings (), or delete the file ().

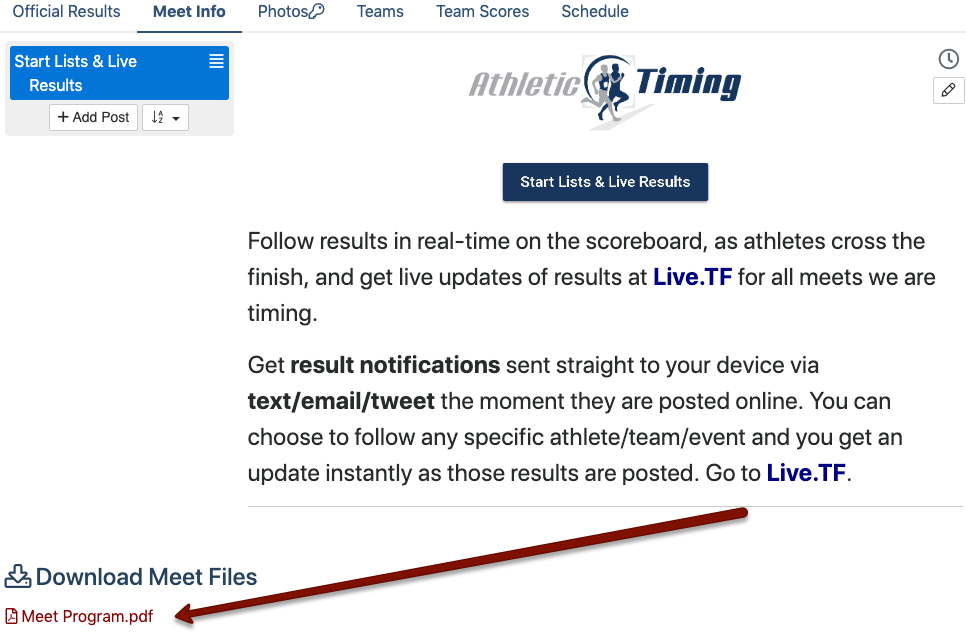
Now that the file is uploaded, it will be displayed at the bottom of your public meet page's Meet Info tab if you checked the box to Show On Info Tab on Public Meet Page.

If you'd like to attach your uploaded file to a participant email, see Meet Communications.
