Meet Communications
Putting on an event requires a lot of communication. From reminding teams to register, giving directions for parking, or thanking everyone for attending, one of the best features of being a Team Site Supporter is the ability to send emails quickly and easily to anyone attending the meet.
Sending Emails with AthleticNET
To access this feature, navigate to your team's homepage by clicking on the Menu Icon () in the top left corner, and then clicking on your team's name. Then, go to the team calendar and click the meet name. Finally, click Manage Meet.
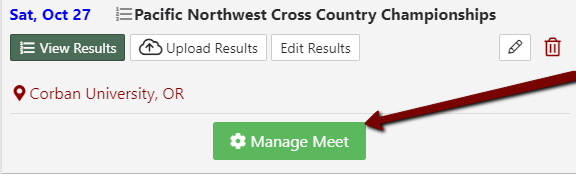
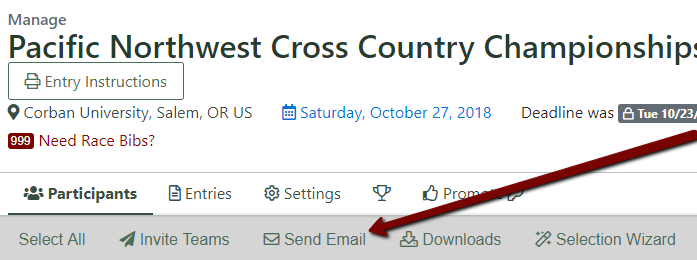
From the Manage Meet page, click the Send Email button to open the Compose Email editor.
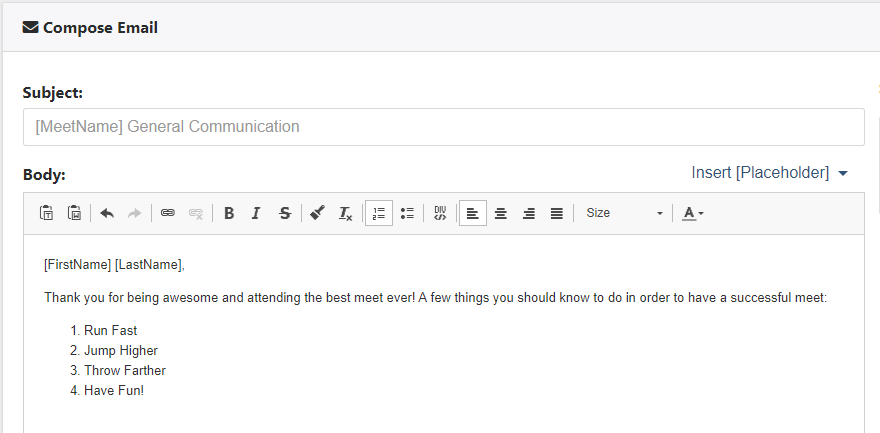
From the Compose Email editor, the body of the message can be edited similarly to any other email system.
Selecting recipients
There are several ways to select recipients:
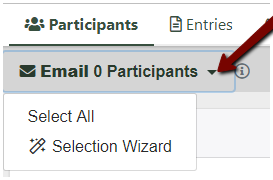
- Select All: Just above the Compose Email banner is another banner that indicates how many participants are selected to receive the email. In this example there are currently 0. Click the drop down menu arrow to choose Select All or the Selection Wizard. Select All will select all High School, Middle School, Club, and Collegiate teams as well as all Event Managers and Unattached participants attending the meet.
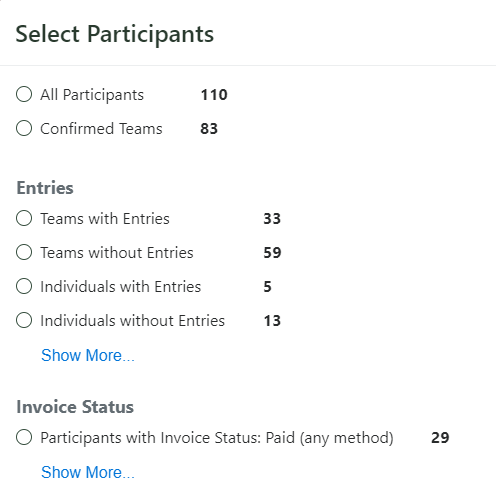
- Selection Wizard: Choosing the Selection Wizard will pop up a window that will give you several options to select email recipients. For example, send a registration deadline reminder only to teams and individuals without entries, or send an email only to those teams who have confirmed their attendance.
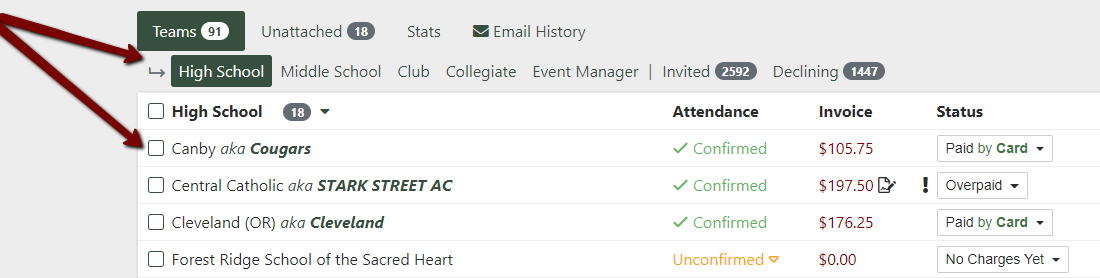
- If you'd like to Select Individual Recipients, you will find the list of teams below the body of the email. Clicking the checkbox next to the team or individual will select that recipient. Use the banner above to navigate between different groups of participants (i.e. High School teams, Event Managers, and Unattached participants).
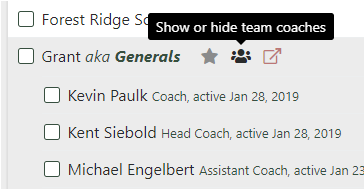
- Email a Particular Coach: When you select a team's checkbox, AthleticNET will email all coaches on that team by default. If you'd like to select a particular coach to email, hover your cursor over the team name and three icons will appear. The icon in the center will show or hide team coaches. Select the coach you want to email by checking the box next to the coach's name.
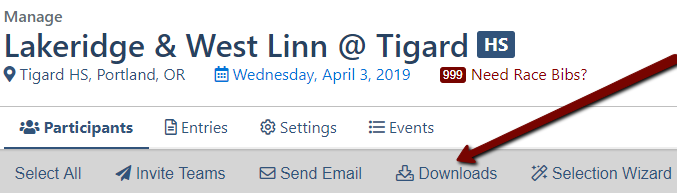
Download Coaches' Contact Info
The meet coaches' contact information can be downloaded to a spreadsheet from the Participants section of the Manage Meet page by clicking Downloads.
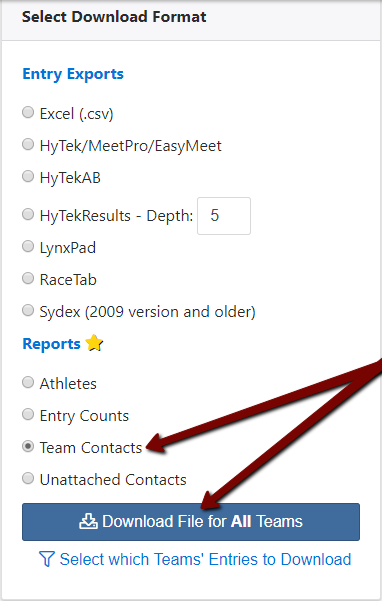
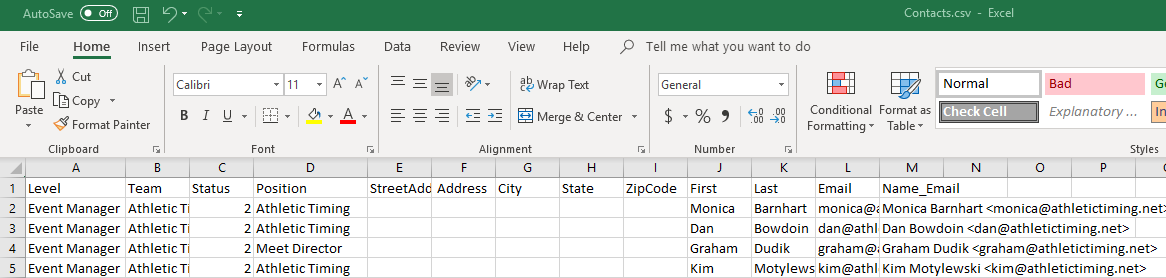
From the Select Download Format box, choose Team Contacts, then click Download File for All Teams button. A .csv (comma separated value) file will begin to download immediately. This file can be opened in the spreadsheet software or text editor of your choice.
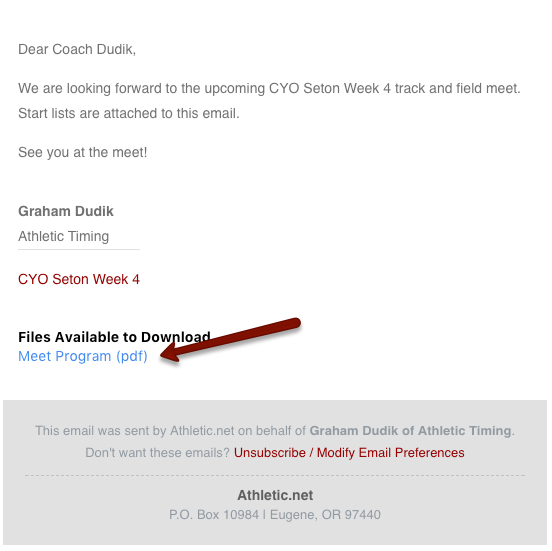
Attach Files to an Email
On the email compose screen, any uploaded files will be listed under Include Files. Check the box next each file you'd like to attach.
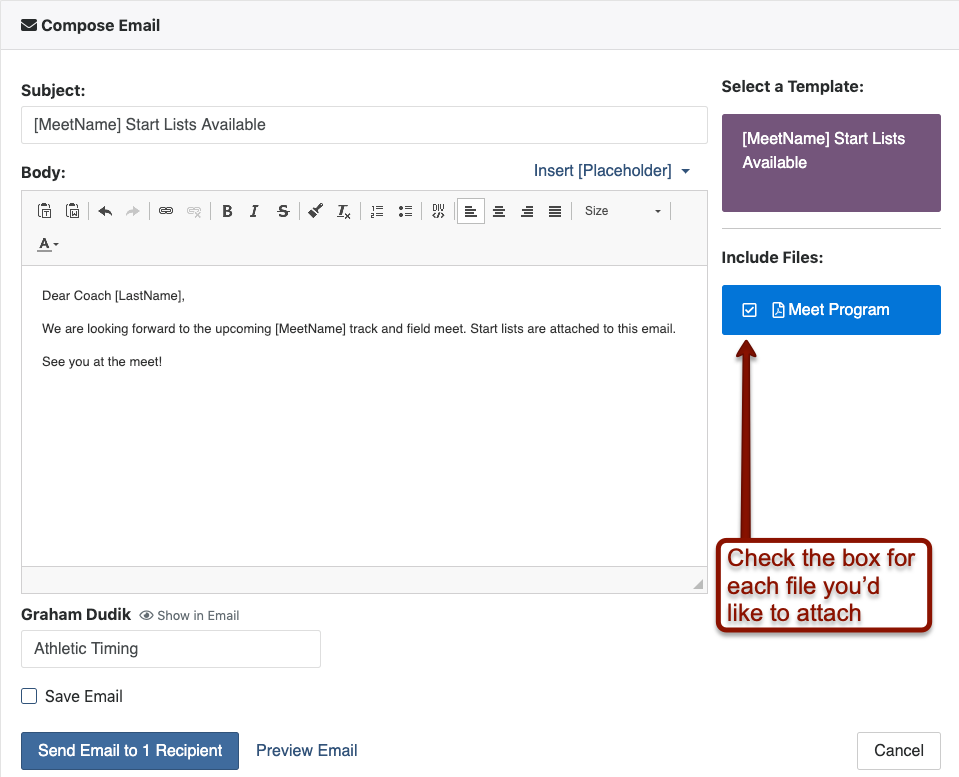
When you send the email, the attached file will be listed at the bottom of the email as available for download.